Measure the tube accurately to ensure it will socket to the back of the fitting cup (Figure 12.4).
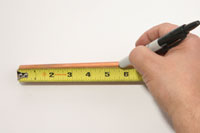 Figure 12.4. Measuring
Cut the tube square, perpendicular to the run of tube, using an appropriate tubing cutter (Figure 12.5).
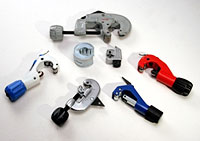 Figure 12.5. Tube cutters
Remove burrs from the I.D. and O.D. of the cut tube end by reaming the I.D. and chamfering the O.D. using the appropriate tools (Figure 12.6 and 12.7).
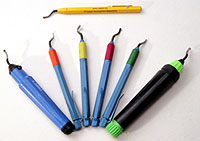 Figure 12.6. Reaming tools
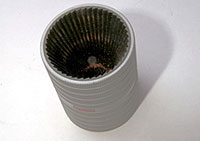 Figure 12.7. Chamfer tool
Chamfering the cut tube end is required to reduce the possibility of gasket damage when inserting the tube. Cleaning of the chamfered tube end with emery paper, nylon abrasive cloth or plumber's cloth will ensure that no sharp edges or nicks are present, which might damage the sealing gasket upon insertion of the tube into the fitting (Figure 12.8).
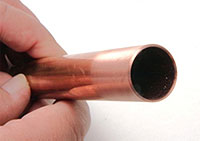 Figure 12.8. Chamfered tube end
Examine the fitting to be used to ensure the sealing gasket and gripper ring are properly positioned and not damaged (Figure 12.9).
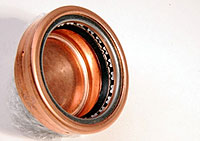 Figure 12.9. Fitting
Mark the depth of insertion on the tube prior to inserting it into the fitting (Figure 12.10).
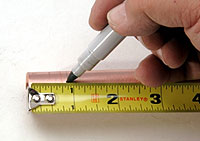 Figure 12.10. Making insertion depth
Lubrication of the tube end may or may not be required. Follow the manufacturer's installation recommendations related to pre-lubrication of the tube end.
Align the tube so that it is straight and in line with the fitting (Figure 12.11).
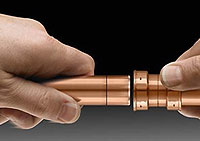 Figure 12.11. Aligning tube end squarely
Using a firm pushing and twisting motion, insert the tube into the fitting and push the tube and fitting together until the tube is seated at the back of the fitting cup as evidenced by the pre-marked tube insertion depth line (Figure 12.12).
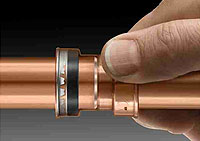 Figure 12.12. Completed installation of a push-connect joint