Examine the tube to ensure there are no dents, deep scratches, dirt, oils, grease or other surface imperfections (Figure 10.1).
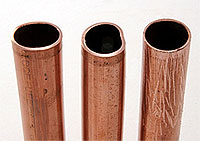 Figure 10.1. Inspect tube for imperfections
Measure the tube length accurately (Figure 10.2).
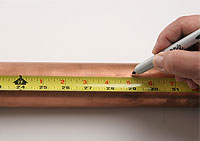 Figure 10.2. Measure accurately
Cut the tube end square, i.e., perpendicular to the run of the tube (Figure 10.3).
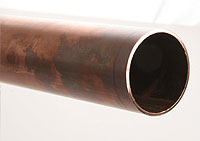 Figure 10.3. Square-cut tube end
Remove burrs from the I.D. and the O.D. of the tube end by reaming the I.D. and chamfering the O.D using the appropriate tools (Figure 10.4).
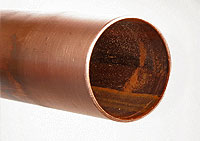 Figure 10.4. Clean and smooth tube end
Roll groove the tubing to the proper dimensions, as required by the fitting manufacturer (Figure 10.5).
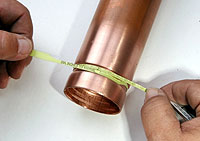 Figure 10.5. Grooved tube end
Examine the fittings, gaskets and clamps to ensure the proper gasket is inserted into the clamp and the fitting end is not damaged (Figure 10.6 and 10.7).
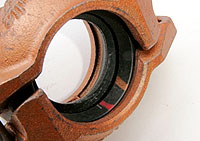 Figure 10.6. Clamp and gasket assembly
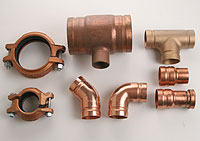 Figure 10.7. Selection of fitting, gaskets and clamps
Lubricate the gasket per manufacturer's recommendations (Figure 10.8).
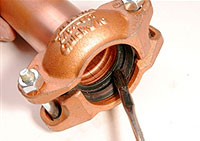 Figure 10.8. Applying lubrication to gasket
Inspect the clamping surfaces to ensure they are clean and free from construction debris (Figure 10.9). Assemble the joint according to the manufacturer's recommendations (Figure 10.10).
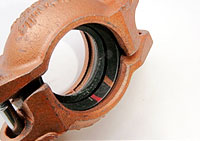 Figure 10.9. Inspect the surface
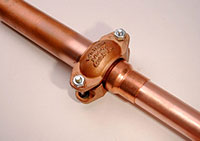 Figure 10.10. Assembled joint
Tighten the clamping nuts to the proper torque per manufacturer's recommendations (Figure 10.11).
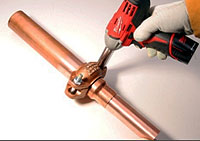 Figure 10.11. Tightening the clamp
Inspect the tightened clamp to ensure it is properly assembled (Figure 10.12).
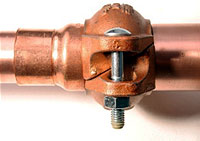 Figure 10.12. Final inspection of completed joint