Measure tubing accurately to insure it sockets completely to the base of the fitting cup (Figure 11.5).
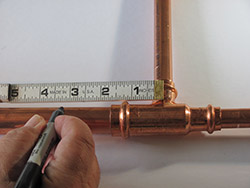 Figure 11.5. Measuring
Cut the tubing square, perpendicular to the run of tube, using an appropriate tube cutter (Figure 11.6 and 11.7) .
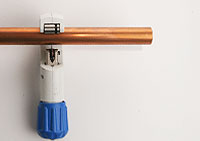 Figure 11.6. Cutting the tube square
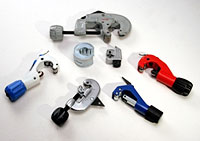 Figure 11.7. Tube cutters
Burrs must be removed from the I.D. and O.D. of the cut tube end (Figure 11.8 and 11.9).
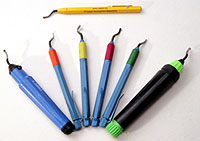 Figure 11.8. Reaming tools
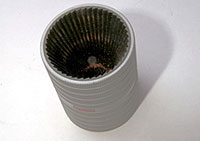 Figure 11.9. Combination tool for I.D and burr removal
Chamfer the cut tube end to reduce the possibility of gasket damage when inserting the tube into the fitting (Figure 11.10).
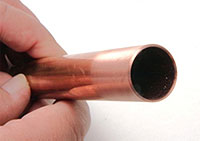 Figure 11.10. Properly prepare tube end
Examine the fitting to be used to ensure the sealing gasket is properly positioned and is not damaged (Figure 11.11).
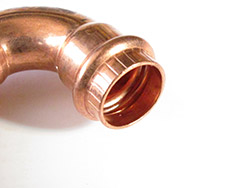 Figure 11.11. Press fitting
 (NOTE: Missing o-ring)
Depth of insertion must be marked on the tube prior to inserting the tube into the fitting (Figure 11.12).
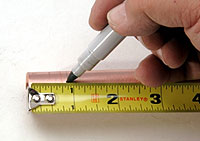 Figure 11.12. Measuring depth of insertion
Select the proper size of the appropriate pressing jaw and insert it into the pressing tool (Figure 11.13).
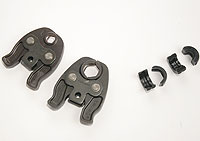 Figure 11.13. Pressing jaw selections
Ensure the tube is completely inserted to the fitting stop (appropriate depth) and squared with the fitting prior to applying the pressing jaws onto the fitting (Figure 11.14).
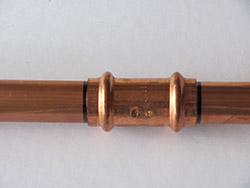 Figure 11.14. Fitting prepared for pressing
Place the pressing jaw over the bead on the fitting and ensure the tool and jaws are at a 90° angle (perpendicular) to the centerline of the tube (Figure 11.15).
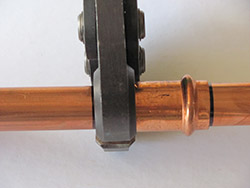 Figure 11.15. Properly positioned press tool
Depress the pressing tool trigger to begin the pressing cycle.
When the pressing cycle is complete, release the pressing jaw and visually inspect the joint to ensure the tube has remained fully inserted, as evidenced by the visible insertion mark (Figure 11.16).
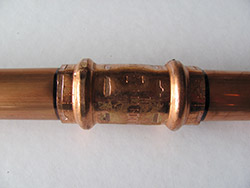 Figure 11.16. Completed installation of a press-connect joint